I love rivets. Rivets can be made out of wire or tubes. The trick is to drill a hole that is the same size or just a tiny bit bigger then the wire. Use a wire gauge to measure your drill bit to match your wire. I like to file the ends of the wire before making the rivet. An easy way to start a rivet is hold the wire in a flame and let the wire ball up - and vola! you have something to smash with your hammer :)
 |
| 16 gauge copper wire with a similarly sized drill bit ready to clamp some silver and copper together. |
 |
| Use a nail and hammer to create a dent or depression in your metal for the drill bit. This will keep the drill bit from sliding around and scratching your metal. |
When riveting two pieces of metal together you need to drill a hole through both of them. Make sure you know where you want your rivet and drill a hole through the first piece of metal. In the above photo I am using a nail to tap a dent into the silver, this will help catch the drill bit so the drill bit won't skate around and scratch your metal while you are drilling. You can use a nail or a punch or a screw... Anything that has a little point to it that will make a nice depression for your drill bit.
Then use your first piece of metal with the drilled hole as a guide for placing the second hole in the second piece of metal. Drill the hole in the second piece of metal. Now your pieces of metal should line up as you want them when you place your rivet in your piece.
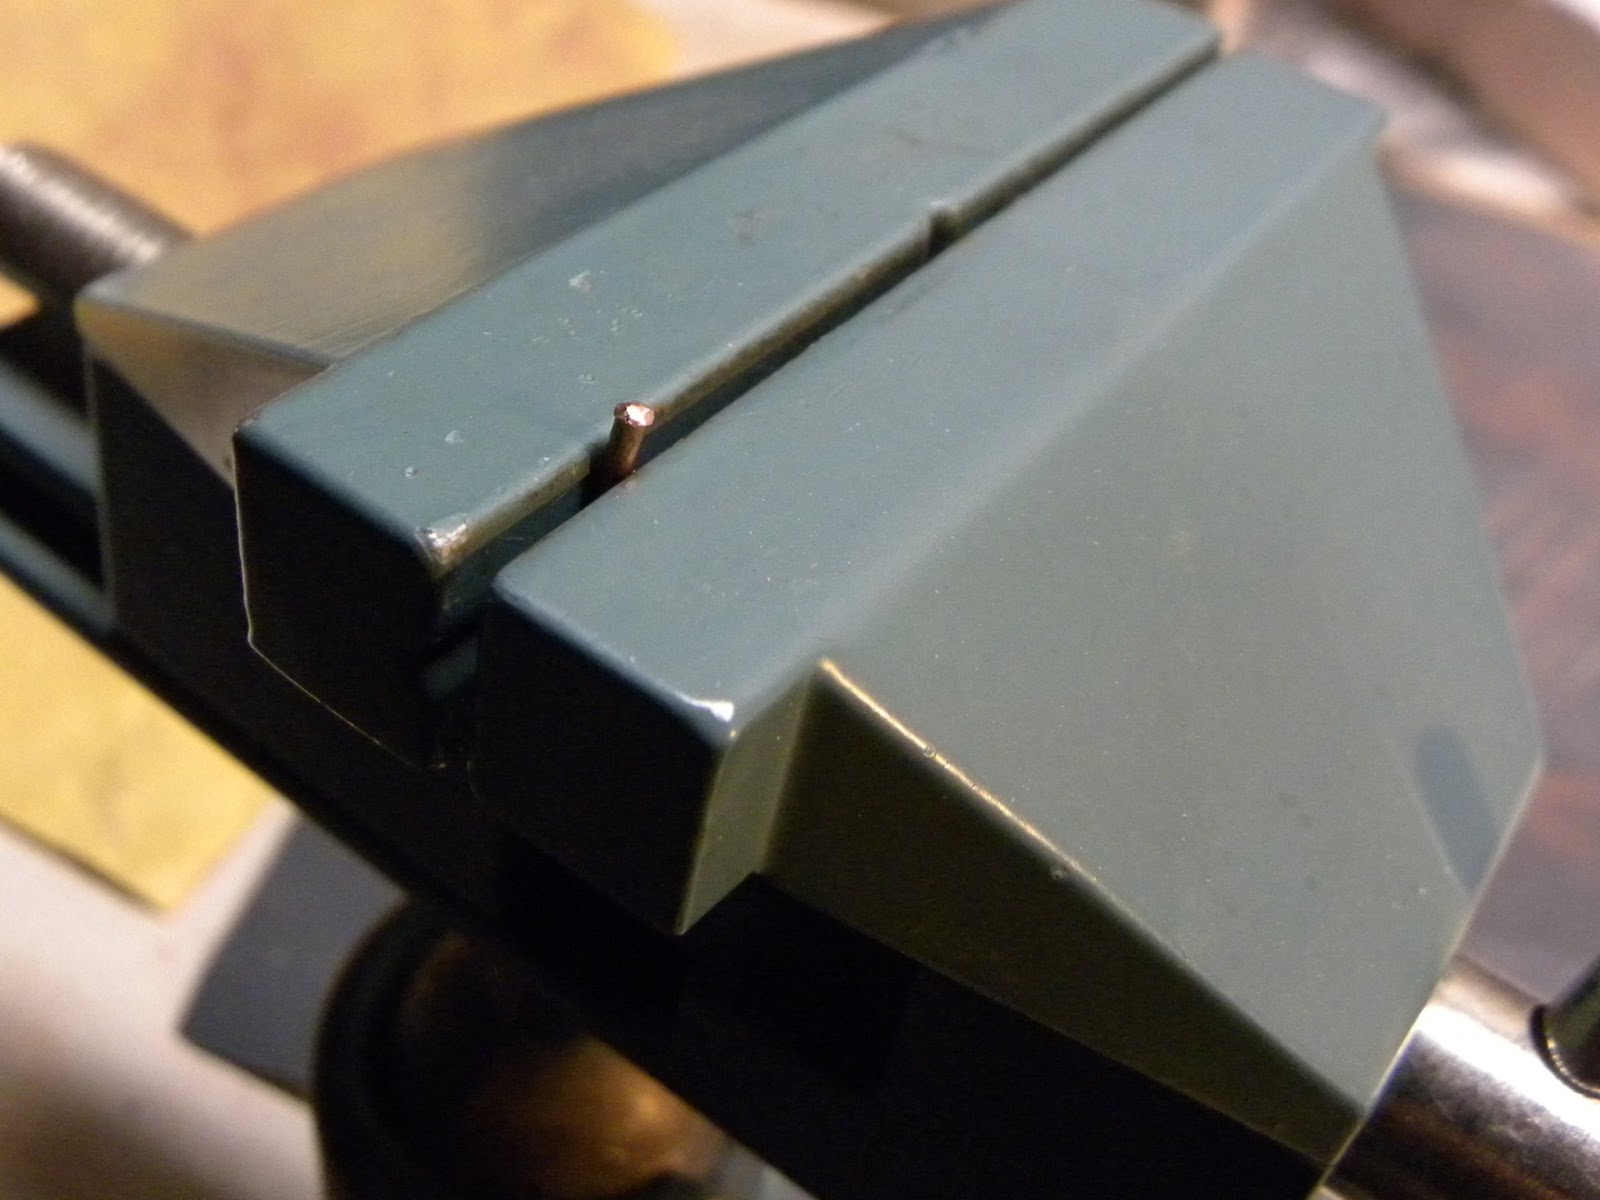
It is now time to work on your rivet. If you have not chosen to ball up your wire in a flame to start your rivet you will file or sand your wire so it is smooth and place it in a vise. Have just a little bit of the wire sticking up out of the vise and clamp it down very tightly.
 |
| Here you can see the very beginnings of a head on the wire. |
 |
| The rivet is seen from the underside of the copper disc. |
 |
| The wire with the rivet on the end is threaded on to the copper disc. |
 |
| The silver is added to the piece. Measure and trim the wire. |
You can choose to finish your rivet in different ways. Hammer your rivet flat, as shown here.
 |
| Reverse side of piece. |
 |
| The smaller earrings in the center look as if they have a rivet in them. |
OK technically that isn't a rivet in the earrings above because the silver is actually the ear wire. But it has the appearance of a rivet in the center earrings.
This bracelet has a stone held on by wire rivets. The rivets are on the underside of the bracelet and the sterling silver wire "grows" up and around the green kambaba jasper.


No comments:
Post a Comment